- Get 50% OFF Your First Consultation – Limited Time Offer!

Quick Summary :- A sitemap helps search engines discover important URLs on your website, while robots.txt provides instructions about which areas search engine crawlers should or should not crawl. Setting up both correctly, submitting your sitemap through Google Search Console, and regularly monitoring crawling and indexing issues can help create a stronger technical SEO foundation.
When you create a website, getting it indexed by Google is an important part of SEO.
Two files that are often discussed in technical SEO are sitemap.xml and robots.txt.
Although they serve different purposes, both can help search engines understand and crawl your website more effectively.
A sitemap tells search engines about the important URLs on your website, while robots.txt provides instructions about which areas search engine crawlers can or cannot access.
In this guide, we will explain what sitemap and robots.txt files are, how to set them up, and how to check them using Google Search Console.
An XML sitemap is a file that contains URLs you want search engines to discover and crawl.
For example, a website might have pages such as:
These URLs can be included in the website's sitemap.
A typical sitemap URL looks like:
https://example.com/sitemap.xml
However, depending on the CMS or SEO plugin you use, the sitemap may have a different URL structure.
Tips: Before creating a sitemap manually, first check whether your CMS or SEO plugin is already generating one automatically.
A sitemap can make it easier for search engines to discover important pages on your website.
It can be particularly useful for:
However, having a sitemap does not guarantee that every URL will be indexed by Google.
Google still decides which pages to crawl and index based on various factors.
Tips: Think of a sitemap as a discovery aid, not an indexing guarantee. Important pages still need strong content, internal links and proper technical setup.

A robots.txt file provides instructions to search engine crawlers about which URLs or areas they should not crawl.
It is normally located in the root directory of your website:
https://example.com/robots.txt
A simple example looks like:
User-agent: *
Disallow:
This generally means that no crawling restriction is specified for any user agent.
Another example could be:
User-agent: *
Disallow: /admin/
This tells compliant crawlers not to crawl the /admin/ path.
Tips: Be very careful when editing robots.txt on a live website. One incorrect rule can unintentionally prevent search engines from crawling important sections.
These two files have different jobs.
Sitemap.xml
Helps search engines discover URLs and communicates important website pages.
Robots.txt
Provides instructions about crawler access.
In simple words:
Sitemap → "Here are the important URLs on my website."
Robots.txt → "Here are the areas I don't want crawlers to crawl."
Tips: Don't treat sitemap.xml and robots.txt as interchangeable. One helps discovery; the other controls crawler access.
Step 1: Check Whether Your Website Already Has a Sitemap
Before creating a new sitemap, check whether your website already generates one.
Try opening:
https://yourdomain.com/sitemap.xml
If you use WordPress, your SEO plugin or WordPress itself may already generate a sitemap.
For example, some websites may use a sitemap index such as:
https://yourdomain.com/sitemap_index.xml
The exact URL depends on your website setup.
Tips: Avoid creating multiple sitemap systems unnecessarily. First identify which sitemap your website is already generating and whether it is working correctly.
Open the sitemap in your browser and check whether it contains the important pages of your website.
Look for:
Avoid treating the sitemap as a list of every URL on your website.
It should help search engines discover the URLs that are important and eligible for crawling and indexing.
Tips: Keep low-value, duplicate or intentionally excluded URLs out of the sitemap where appropriate. The sitemap should focus on URLs you genuinely want search engines to discover.
Once your sitemap is available, you can submit it through Google Search Console.
Go to your Google Search Console property and open the Sitemaps section.
Enter the sitemap URL or sitemap path and submit it.
For example:
sitemap.xml
Google can then access the sitemap and use it for URL discovery.
Tips: Make sure you're submitting the sitemap for the correct Search Console property, especially if your website has multiple versions or domains.
After submitting your sitemap, check its status in Search Console.
You can see whether Google was able to process the sitemap and whether there were any reported issues.
If there is a problem, review the sitemap and fix the issue rather than repeatedly submitting the same sitemap.
Tips: Repeatedly resubmitting a broken sitemap doesn't solve the underlying problem. Check the reported issue and correct the source first.
Step 1: Check Your Existing Robots.txt
Open:
https://yourdomain.com/robots.txt
Before creating or editing the file, check whether your website already has one.
You may find something similar to:
User-agent: *
Disallow:
Sitemap: https://yourdomain.com/sitemap.xml
The sitemap line can help crawlers discover the location of your XML sitemap.
Tips: Always review the existing robots.txt before replacing it. Your CMS, hosting environment or SEO plugin may already be generating important rules.
Robots.txt rules should be created carefully.
For example:
User-agent: *
Disallow: /private-folder/
This tells compliant crawlers not to crawl that path.
You should avoid blocking important pages, resources, or sections of your website without understanding the SEO impact.
Tips: Review any Disallow rule carefully before publishing it. A broad path can affect more URLs than you initially expect.
This is an important SEO point.
Robots.txt is primarily a crawling control mechanism, not a reliable way to remove a URL from Google's search results.
If a URL should not appear in search results, you may need a different approach depending on the situation.
For example, a page may need appropriate indexing controls or removal actions rather than simply blocking crawling through robots.txt.
Tips: Crawling control and indexing control are different. Decide whether you want to stop crawling, prevent indexing, or remove an existing result before choosing the technical solution.
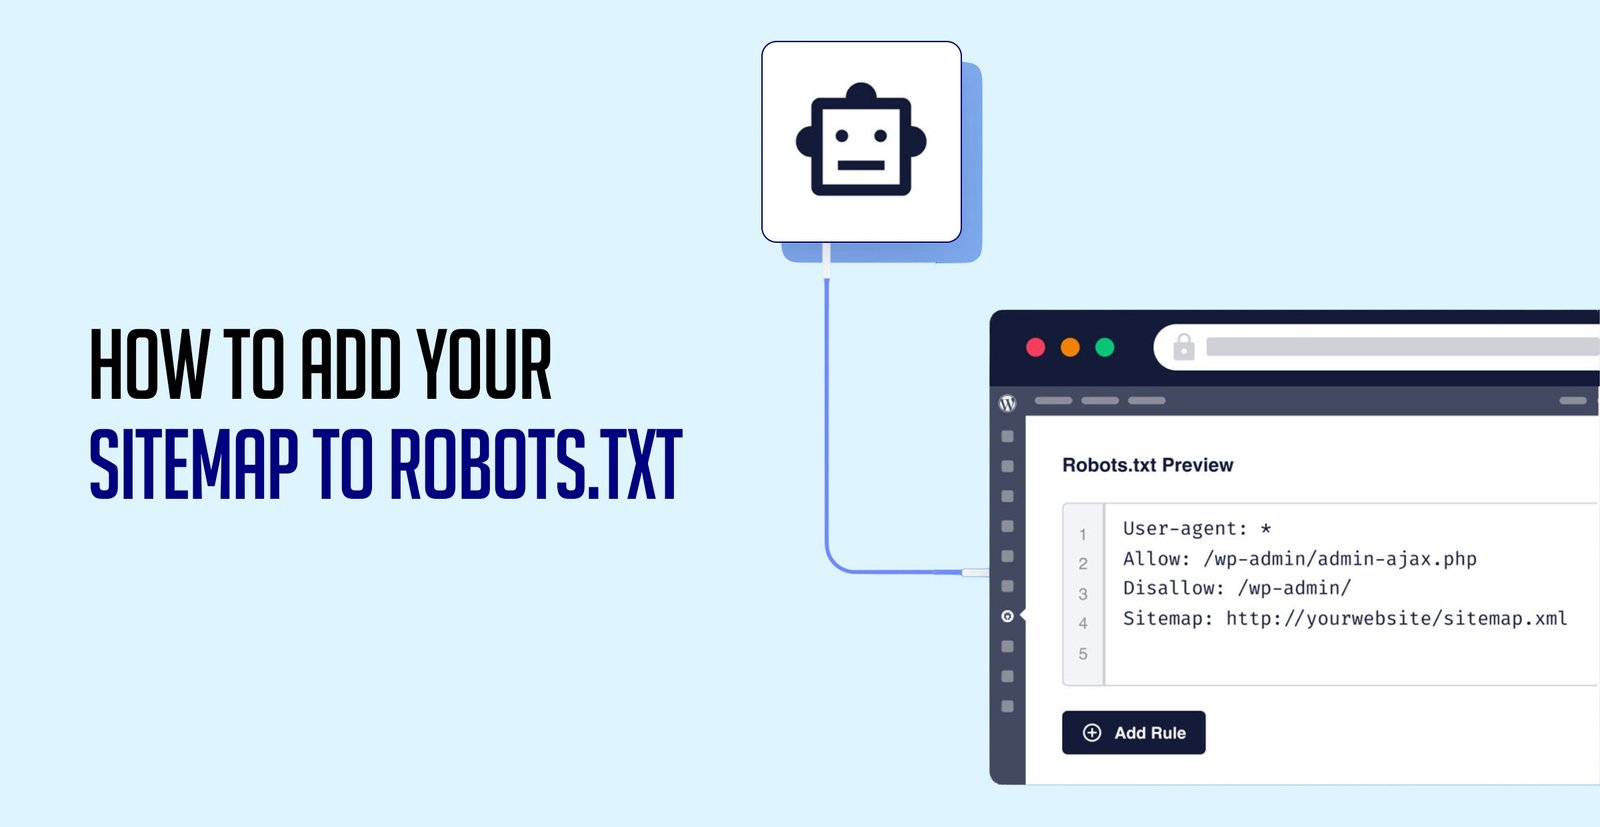
You can include the sitemap location in your robots.txt file.
For example:
User-agent: *
Disallow:
Sitemap: https://example.com/sitemap.xml
This provides crawlers with the location of your sitemap.
You can use your actual sitemap URL instead of example.com.
Google Search Console can help you monitor your sitemap and identify crawling or indexing issues.
For Sitemap
Go to:
Google Search Console → Sitemaps
Here you can submit and review your sitemap.
For Robots.txt
Google Search Console can provide information related to crawling and indexing, but don't rely on an old standalone "robots.txt Tester" workflow as if it were a current universal feature.
You can also directly check your robots.txt URL in the browser and review your site's crawl and indexing reports in Search Console.
Tips: Use Search Console alongside direct browser checks. Sitemap status, indexing reports and crawl-related information together give a clearer picture of technical SEO health.
Blocking Important Pages
A poorly written robots.txt rule can prevent crawlers from accessing important areas of your website.
Blocking Your Entire Website
A rule such as:
User-agent: *
Disallow: /
can tell compliant crawlers not to crawl the entire site.
This should never be used accidentally on a live website.
Including Unwanted URLs in Your Sitemap
Don't treat the sitemap as a dumping ground for every URL.
Focus on important URLs that you want search engines to discover.
Forgetting to Update the Sitemap
If your website regularly adds new pages or blog posts, make sure your sitemap system updates appropriately.
Using Robots.txt to Remove Indexed Pages
Blocking a URL from crawling does not necessarily remove an already indexed URL from Google's search results.
Submitting the Wrong Sitemap
Make sure you submit the correct sitemap or sitemap index for your website.
Tips: Always review robots.txt after a website migration, redesign or staging-to-live deployment. Development restrictions can accidentally remain active on production websites.
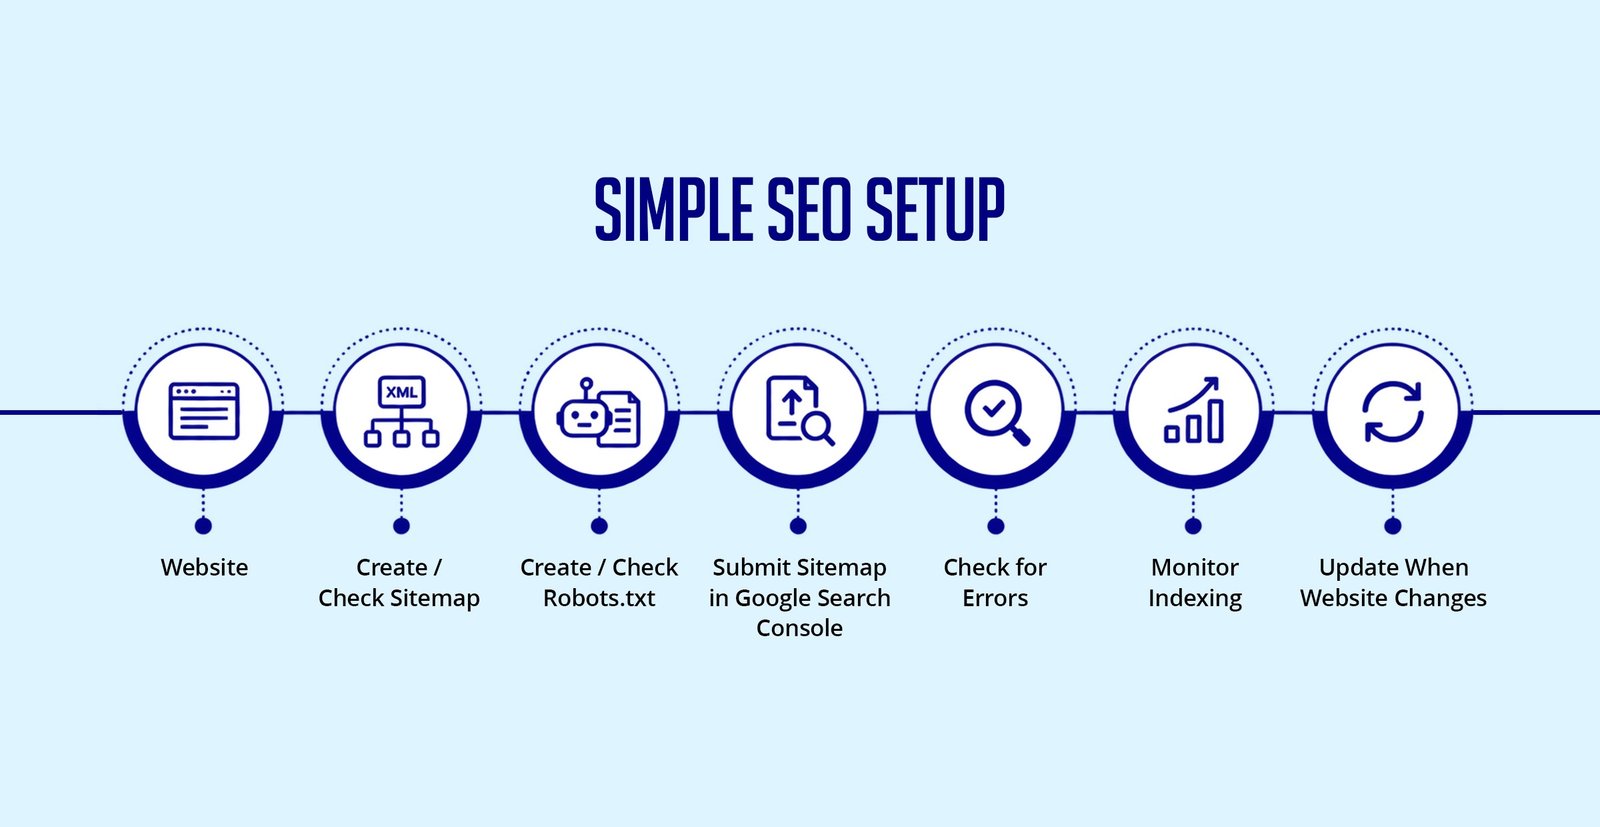
A basic setup can look like this:
Website
↓
Create / Check Sitemap
↓
Create / Check Robots.txt
↓
Submit Sitemap in Google Search Console
↓
Check for Errors
↓
Monitor Indexing
↓
Update When Website Changes
Tips: Technical SEO is not a one-time setup. Recheck crawling and indexing whenever major website changes are made.
If you are using WordPress, you may not need to manually create everything from scratch.
WordPress and SEO plugins can generate sitemap files automatically.
Before installing another plugin or manually creating a new file:
1. Check whether a sitemap already exists.
2. Check your current robots.txt.
3. Make sure important pages are not blocked.
4. Submit the correct sitemap to Search Console.
5. Monitor indexing and crawling issues.
This helps avoid creating conflicting or unnecessary configurations.
Tips: On WordPress, avoid installing multiple SEO tools that all try to control sitemaps or robots.txt unless you clearly understand which one is responsible for each function.
Setting up a sitemap and robots.txt is a basic but important part of technical SEO.
The goal isn't simply to create these two files. You also need to make sure they are configured correctly and aren't preventing search engines from discovering or crawling important parts of your website.
For most websites, the process is straightforward:
Check Sitemap → Check Robots.txt → Submit Sitemap → Monitor Search Console → Fix Issues
A properly configured technical SEO foundation makes it easier for search engines to discover and understand your website.